To begin editing your website, first you need to log in, This is most often accomplished by clicking on the “Admin menu” or “Login/Logout” menu item on either the top or bottom of the page, if your website has a customer registration feature, there might be another “Login” area on the page, this is not the one you use, you want the admin login section, which is usually less visible.
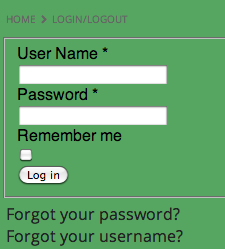
Once you have accessed this menu item, you will be presented with a page that has fields for your username and password, enter these to log in. You will either be taken to the front page, or a list of all the articles that you can access.
Logging in will add a few new options to the admin menu, “View All Articles” will take you to a list of articles, where you can edit, publish and delete them, “Create Blog Post” will let you create and publish a new article, and “Logout” allows you to go back to browsing the website without the ability to edit.
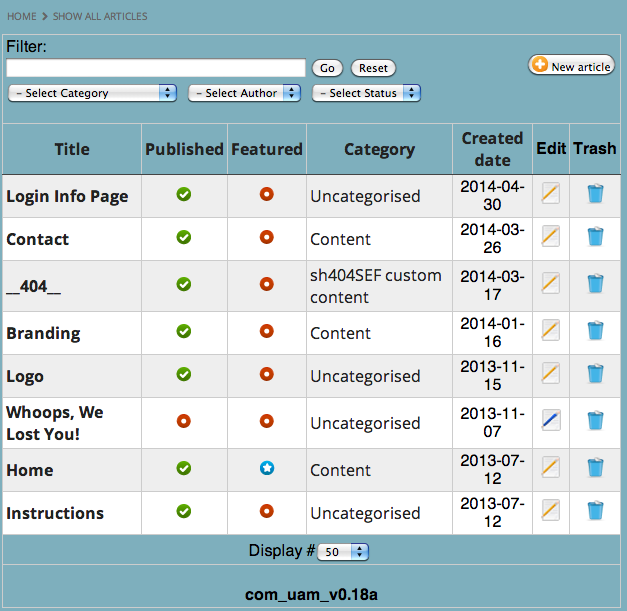
To edit articles, either click the text that says "Edit" that appears above them in normal view, or the icon that looks like a pencil across a page in the “View all articles” view, This will take you to the article editing page.
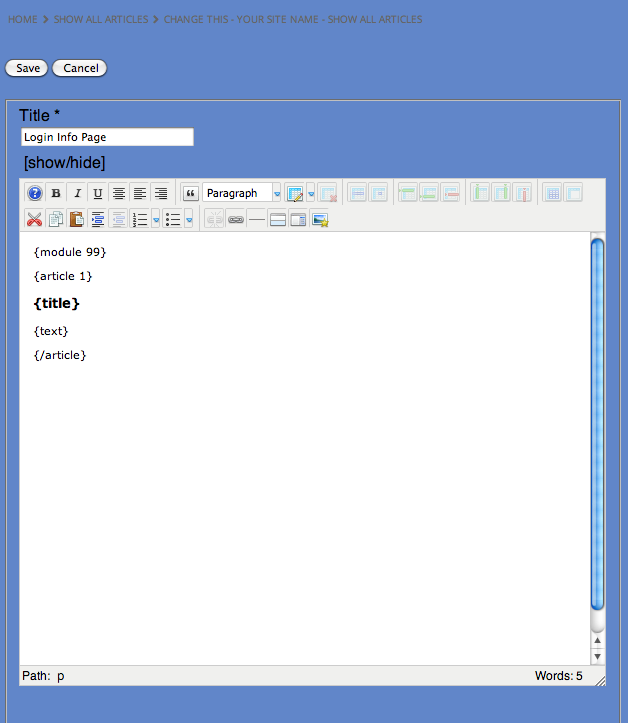
On this page, you have “Save” and “Cancel” buttons at the top, these are for when you have finished editing your article, “Save” will keep the changes you have made, “Cancel” will delete them. A little below this, you have a “Title” area, where you can enter the title of the article, below that is the main editing window, where you have a bar of options for editing your article, and below that a large text area where you can enter all your content.
Below that is a section for changing the category that your article will be in. It is important to remember to set this to the appropriate category.
In the editing window, an important button to remember is the image editor, it is towards the end and looks like a star next to a picture frame, this is where you insert, upload and edit images for your article.
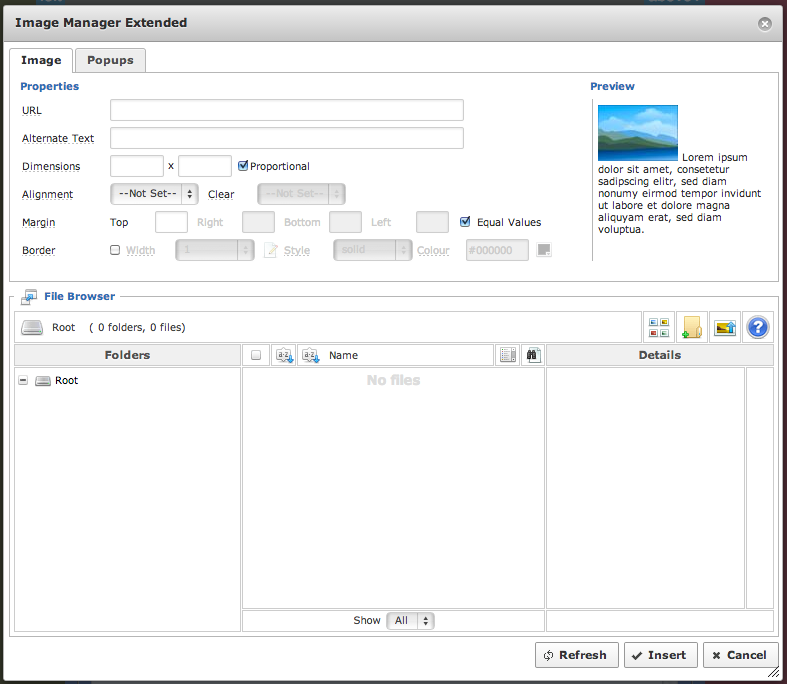
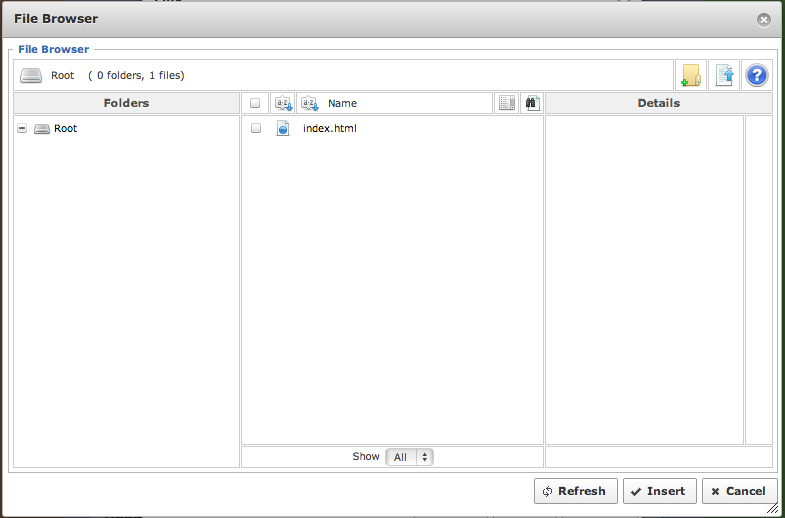
If your image is already uploaded, it is no more difficult than just finding it in the list, clicking it and making sure that the details up the top are filled in (This will be done automatically when you click on the image in the browser), and then you can click “Insert”
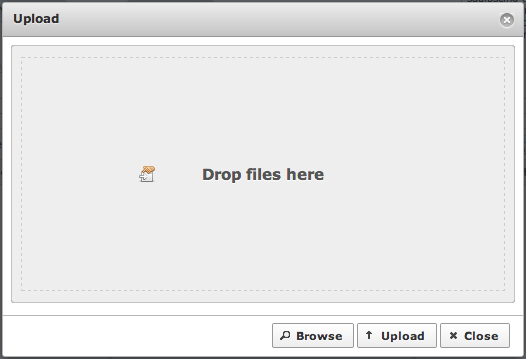
If it is not already there, you will need to upload it, to do this, you click the icon on the right hand side that looks like a picture frame with an arrow pointing upwards, this will take you to the upload manager, click on the “Browse” option to search for the image on your PC that you want to upload, once you have selected it, it will show up in the manager, here you can change the filename if you want before uploading click “Upload” in the upload manager, and then insert it the same way as with an uploaded image.
You can upload PDF files as well, to do this, you click the icon in the editing area that looks like a chain, this is the icon to create a link, here, up the top right, you will see an icon that looks like a document with an arrow pointing upwards, click on this and follow the same procedure as uploading an image, but with a PDF rather than an image file, Make sure that the file type is set to “All” so that you can see all your files.
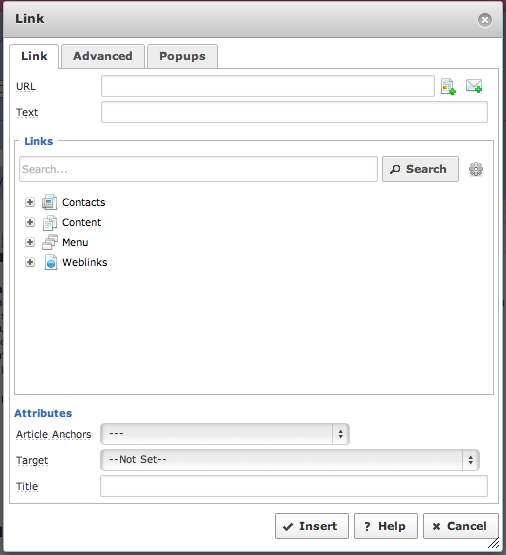
You can either make a link with brand new text by entering it in the text area, or you can add it to already existing text by highlighting the text before you click the link editor.
Creating a link to another page and or website is done via the LINK icon on the tool bar ![]() Simply click this icon which will show the following box, then simply enter your link URL into the URL box.
Simply click this icon which will show the following box, then simply enter your link URL into the URL box.

Once you have made all your edits, make sure that the article is in the right category and that it has a title, and click “Save”, Remember to always use Save or Cancel to leave the editing screen, as failing to do so will cause problems next time someone wants to edit that article.